Guides
Part of Apparel blank guide: fibers, fabric structures, weight, color, seams, fit, and print behavior
How to evaluate and document a garment blank before printing
A blank is approved only when the ordered garment, in its real colors and sizes, survives the exact decoration and wash sequence you will run.
What to take away
- Write the acceptance gates before you open the carton, so results cannot be argued into passing.
- Verify the received garment against packing documents and sewn labels, not against the sample you remember.
- Pull the smallest and largest size, every color that behaves differently under heat, and more than one unit per lot.
- Test on the real blankplacement, press contact, print response, then the wash sequence the customer will use.
- Approve one named configuration, and treat any substitution as a new evaluation.
A blank evaluation answers one production question: can this ordered garment, in these colors and sizes, carry this decoration and survive the care it will get? Softness is a preference. Fit is a pattern decision. Neither one tells you whether the print will hold.
Write the acceptance gates first
Name the artwork version, finished dimensions, placement, and decoration method. Also name the ink or thread, quantity, size range, and delivery date.
Acceptance gates before testing
- Artwork version and finished dimensions
- Placement tolerance in millimeters
- Maximum shrinkage length and width
- No dye migration into white underbase
- No lifting after agreed wash cycle
Turn each stressor into a number before you see a result. Placement tolerance in millimeters. Maximum shrinkage in length and width. No visible dye migration into a white underbase. No lifting after the agreed wash cycle. A gate written after the test is a rationalization, not a gate.
Build a sample set that can fail
Keep at least one garment unprocessed as a control. Without it you have nothing to compare against, and shade or hand changes become opinion.
Pull the smallest and largest size, since artwork scales differently at each end. Pull every color that could respond differently to heat or chemistry. Pull more than one unit per lot, because lot variation is the thing you are trying to catch.
Give every unit a code. "The black hoodie" is not a sample when four black hoodies are on the bench. The code follows the garment through photographs, measurements, pressing, laundering, and final disposition.
Verify what actually arrived
Compare the packing list, carton label, hangtag, sewn label, and supplier specification against each other. Where they disagree, the sewn label and the supplier's dated specification carry more weight than the carton.
Verify what actually arrived
Field
- Identity
- Supplier, style, PO, date, lot
- Material
- Fiber percentages, fabric, weight
- Color
- Supplier color name, lot, photo
- Construction
- Seam, rib, panel, pocket, hood
- Care
- Full sewn-label instructions and warnings
- Size
- Labeled size and measured points
Evidence to capture
- Identity
- Material
- Color
- Construction
- Care
- Size
Do not fill a missing fact from memory. Mark it unknown and request a dated specification or test record from the supplier.
Inspect the undecorated garment
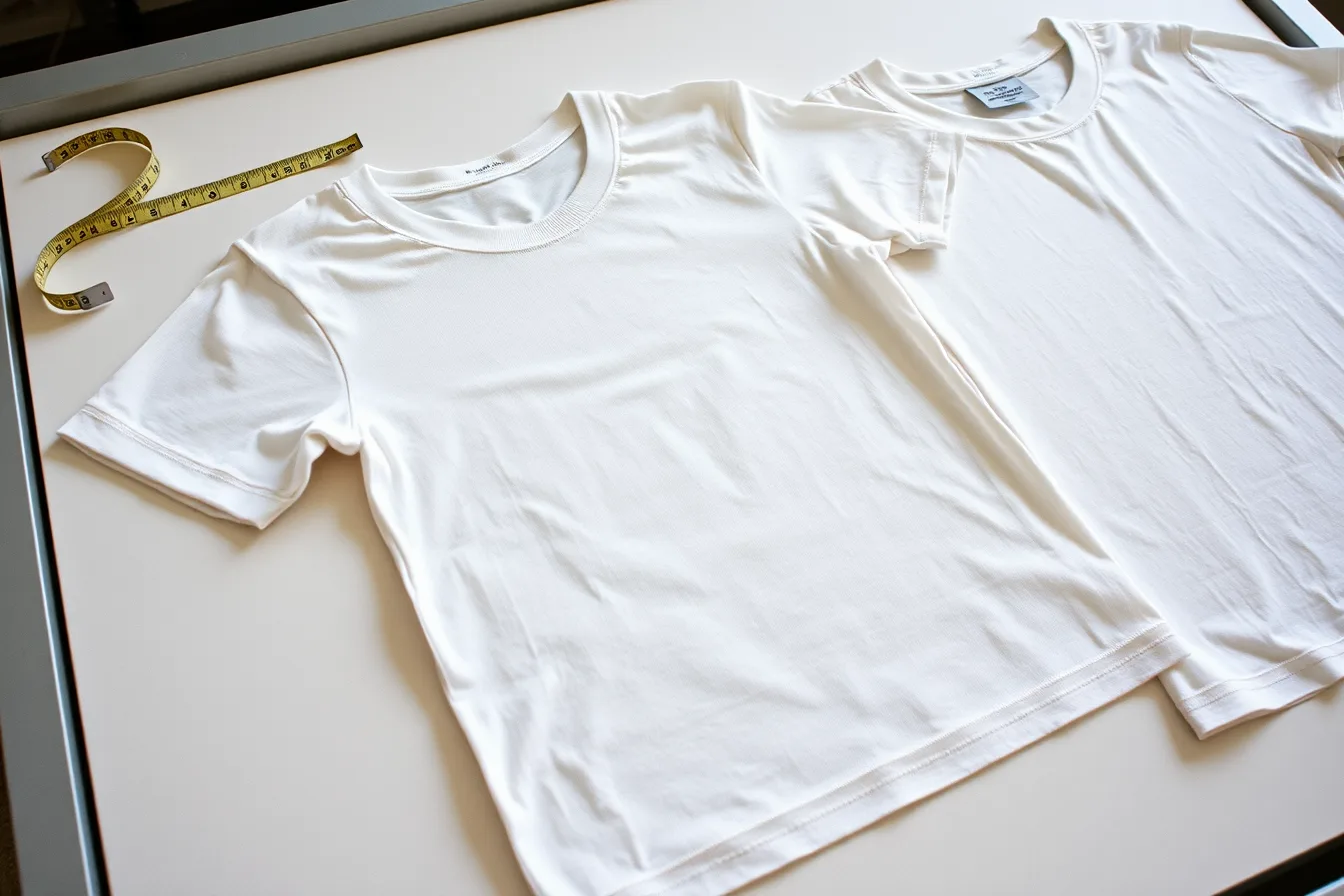
Condition every sample the same way first. Same flat surface, no pulling, same measuring tool, named measurement points. Record chest, body length, sleeve, and shoulder.
Also record hem and the printable area your artwork needs.
Then work the fabric. Check face and reverse, knit or weave, nap direction, and surface hair. Check holes, slubs, barre lines, and stains. Check shade variation, skew, seam puckering, and loose thread. Check needle damage and rib recovery. Photograph the full garment and the close details with the sample code visible in frame.
Cornell University's apparel business guide treats several material decisions as separate. These include:
- fiber content
- fabric construction
- weight
- color
- finish
- care
Its materials-sourcing reference notes that fiber content drives several qualities:
- appearance
- comfort
- durability
- cost
- care
Yarn and construction change how the fabric behaves. Fiber percentage alone predicts very little about how a blank prints.
Map placement and press contact
Lay the garment on the actual platen, hoop, or press surface, dry, before any ink or film touches it. Check whether a collar, pocket, zipper, drawcord, or doubled layer blocks flat support or even pressure.
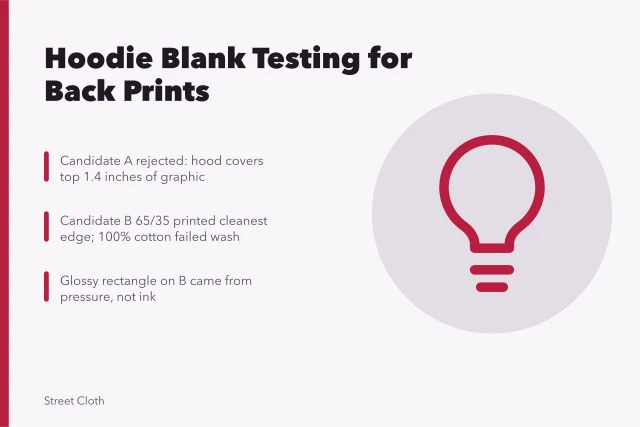
Mark the datum and the artwork boundary with a removable template. Repeat on the smallest and largest size, and record any size-specific scale or position change. Confirm a hood does not swallow a back print and a pocket opening still works.
Run the process test in stages
Start with the least destructive test that answers the question. For heat, press a sacrificial area at production conditions. Look for shine, discoloration, flattening, or dye transfer. Also check for melting, adhesive marks, or shape change. For wet pretreatment, check staining, wicking, and how it dries.
Then decorate a controlled sample with the real artwork, equipment, consumables, and cure sequence. Record actual readings from a pyrometer, infrared thermometer, or press gauge rather than trusting the control panel. Note ambient temperature and humidity if the system is sensitive to them.
Inspect detail, opacity, color, and edge sharpness against the unprocessed control. Use the same light. Then check registration, hand, stretch, and adhesion. Also check show-through and surface damage.
Wash it, then remeasure
Use the care sequence the customer will actually follow. Document the machine or method, detergent, load, and water temperature. Also document the drying method, cycle count, and conditioning time before inspection. An informal rinse is not a wash test and should never be recorded as one.
Wash test and remeasure
- Use customer care sequence
- Document machine, detergent, load, temperature
- Document drying method and cycle count
- Remeasure original points separately
- Check twist, skew, fading, cracking, lifting
- Photograph same views as before
Remeasure from the original points and calculate length and width change separately. Look for twist, skew, puckering, and fading on both garment and decoration. Also look for bleeding, cracking, lifting, and abrasion on both. Photograph the same views you shot before processing.
If the decoration needs a care instruction that contradicts the blank's sewn label, stop. The finished garment ships with one care direction, and it has to be supportable.
Decide and freeze the approval
Four dispositions cover almost everything: approved for the stated configuration, conditionally approved with written limits, held for more evidence, or rejected with a recorded reason.
The approval record names the supplier, style, color, and sizes. It also names the lot, artwork version, method, and consumables. It also names the settings, tests, acceptance criteria, approver, and date. Keep an unprinted control and an approved decorated sample where storage allows.
Write a change trigger into the approval. A new color, lot, factory, or fabric specification sends the affected questions back to evaluation. The same applies to a new finish, care label, or decoration system. Approval belongs to evidence, not to a product nickname.
Common questions
How many blank garments should be tested?
There is no universal number. Use enough units to cover the destructive tests, the retained control, your size and color risks, expected lot variation, and what a failure would cost you. A high-value order with tight placement tolerance earns a larger sample set than a one-off.
Can a supplier specification replace physical testing?
It can confirm identity and declared properties such as fiber content and weight. It cannot tell you how your artwork, press, ink, and wash sequence behave on that fabric. Declared data and tested data answer different questions, and the approval needs both.
Should every color be tested?
Test every color that could respond differently to heat, chemistry, opacity, or dye migration. A written risk assessment may group colors that are genuinely comparable in fabric and dye class. Visual similarity alone is weak evidence, especially between a light color and a dark one.
What belongs in the final approval record?
The exact blank, the lots, sizes, and colors covered:
- the decoration system
- settings
- artwork version
- measurements
- test conditions
- results
- limits
- a physical reference sample
- the date
- a named approver Anyone picking up the order later should be able to reproduce the decision from that file alone.